Overview
Drawer organisers are made of an external frame and internal dividers. Both frames and dividers are assembled from panel parts of various lengths, allowing rectangular organisers of any width and depth. Frame panels are connected using corner parts (a, b). Dividers slide into grooves, which are connected to panels with pegs (c, d). Panel parts are joined by dovetails. Round pegs fit tightly into the round holes in the grooves, but only loosely into the squares holes in the panels, making it easy to rearrange dividers.
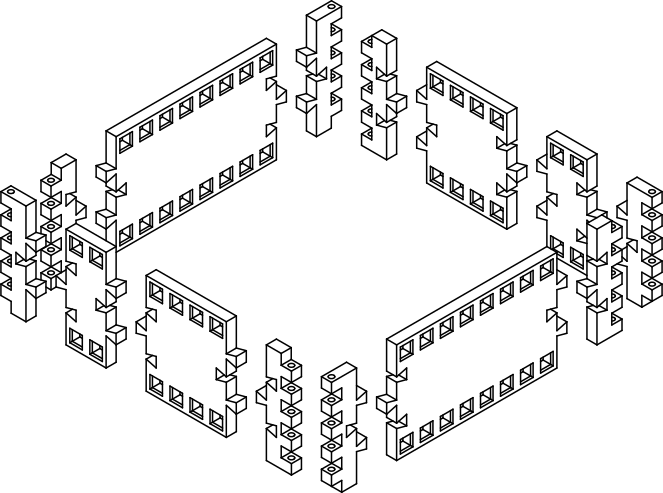 (a) Frame parts
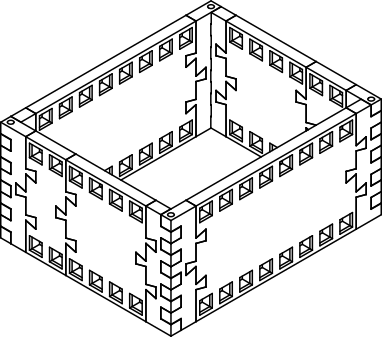 (b) Assembled frame
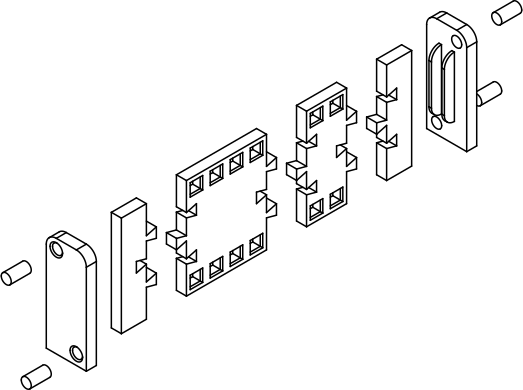 (c) Divider and groove parts
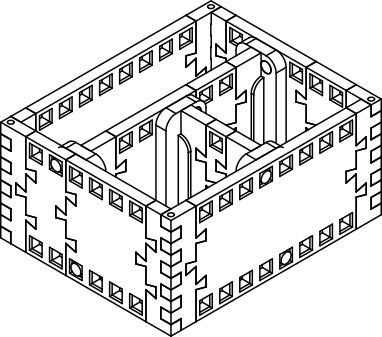 (d) Subdivided organiser
Organiser assembly
Before printing your first organiser, you should check the recommended print settings and make sure that your printer produces parts that fit correctly, neither too loose nor too tight. Gluing parts should never be necessary and is discouraged since it hinders modularity.
Once you have verified that printed parts fit properly, design your organiser’s frame. This entails measuring your drawer, choosing a height, then printing the necessary corner and panel parts.
Once the frame is complete, add dividers until you are satisfied with your organiser’s layout. This entails printing grooves, pegs, caps, and more panels.
Waves are an alternative to dividers. They are made of alternating crests and throughs. They can be used to hold ustensils and other tools, to make shallow bins, and to reinforce compartments.
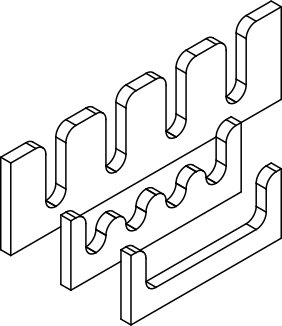
Waves
Finally, you can brace your organiser’s frame to reinforce it and prevent it from moving around in the drawer.
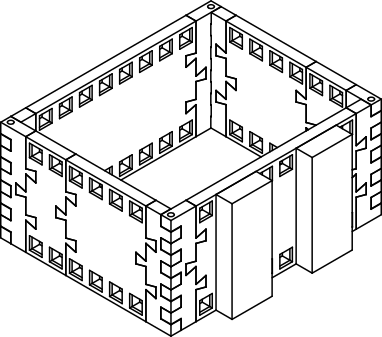
Braces